Getting started with your Nexus 4 – Part 5 – Google Music
Today we’re going to take a look at Google Music!
Google Music is usually only available in a few select countries like the USA but it’s not difficult to enable it here in New Zealand. From there, you can upload all your music for free to Google and access it anywhere in the world from your PC, Tablet, or Cellphone (Like your Nexus 4).
There’s a few convoluted ways of going about doing this through your PC, but it’s actually quite easy to get it up and running directly from your Cellphone! This method also sets it up so if you ever wanted to buy music using the Play Store, you’re able to do-so!
So here’s a whole lot of pictures, and we’re going to fly through this in no time at all!
To get started, you’ll need to first make sure you have a credit card in your Google Wallet by visiting http://www.google.com/wallet/ (It won’t cost you, but they require you to have one in there when you activate it). We do this now because it’s more of a pain to do later through the smaller mobile browser, Google haven’t quite optimized the “desktop” view for input from a Cellphone for Wallet.
Once you’ve confirmed your credit card details are in your Google Wallet, you can start by downloading a free app called “TunnelBear”:
https://play.google.com/store/apps/details?id=com.tunnelbear.android
TunnelBear will create a “VPN Connection”, also known as a “Tunnel”, between your phone and one of their servers in the USA making it appear as though you’re coming from the United States. Thankfully that’s the only check that Google care about when you’re signing up for Google Play Music!
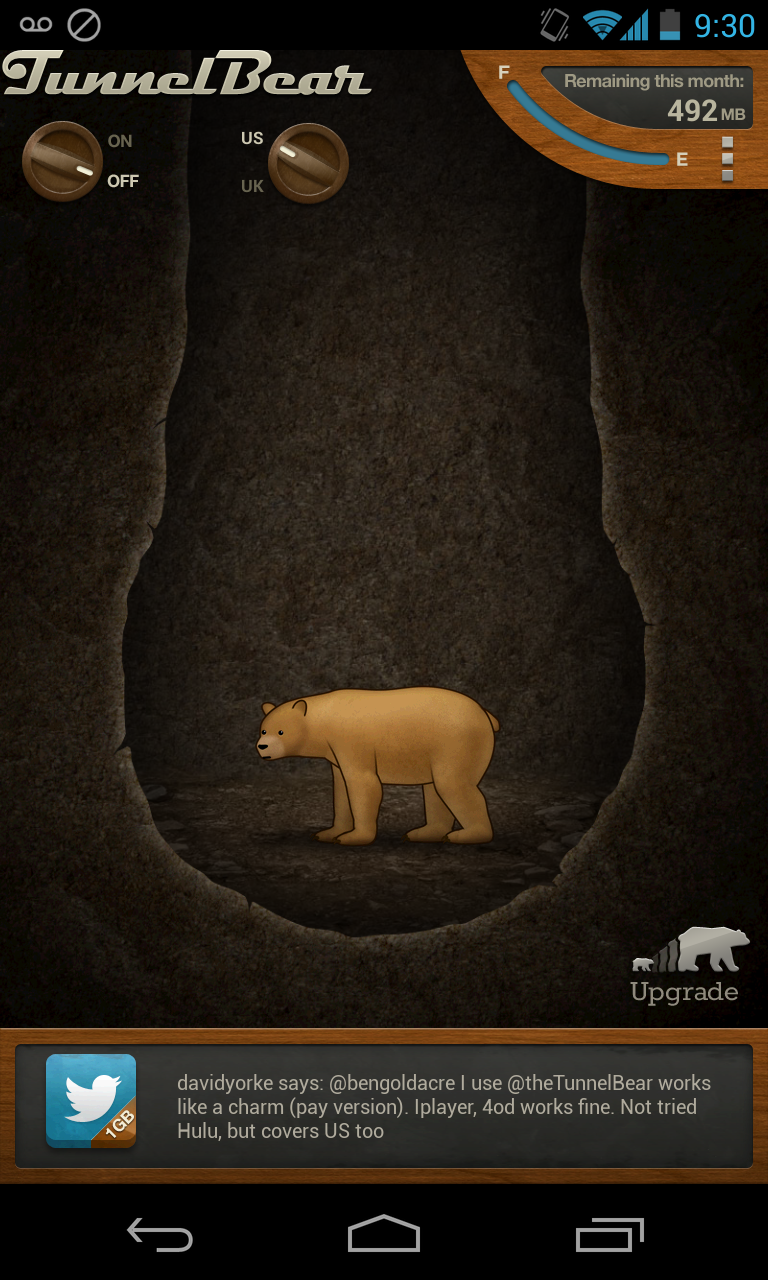
Once you’re done, fire up TunnelBear and create a free account. Don’t worry, they don’t spam you or anything.
In TunnelBear you’ll see a couple of “dials” up the top-left hand side. Make sure the second is set to “US” then change the first one to “ON”.
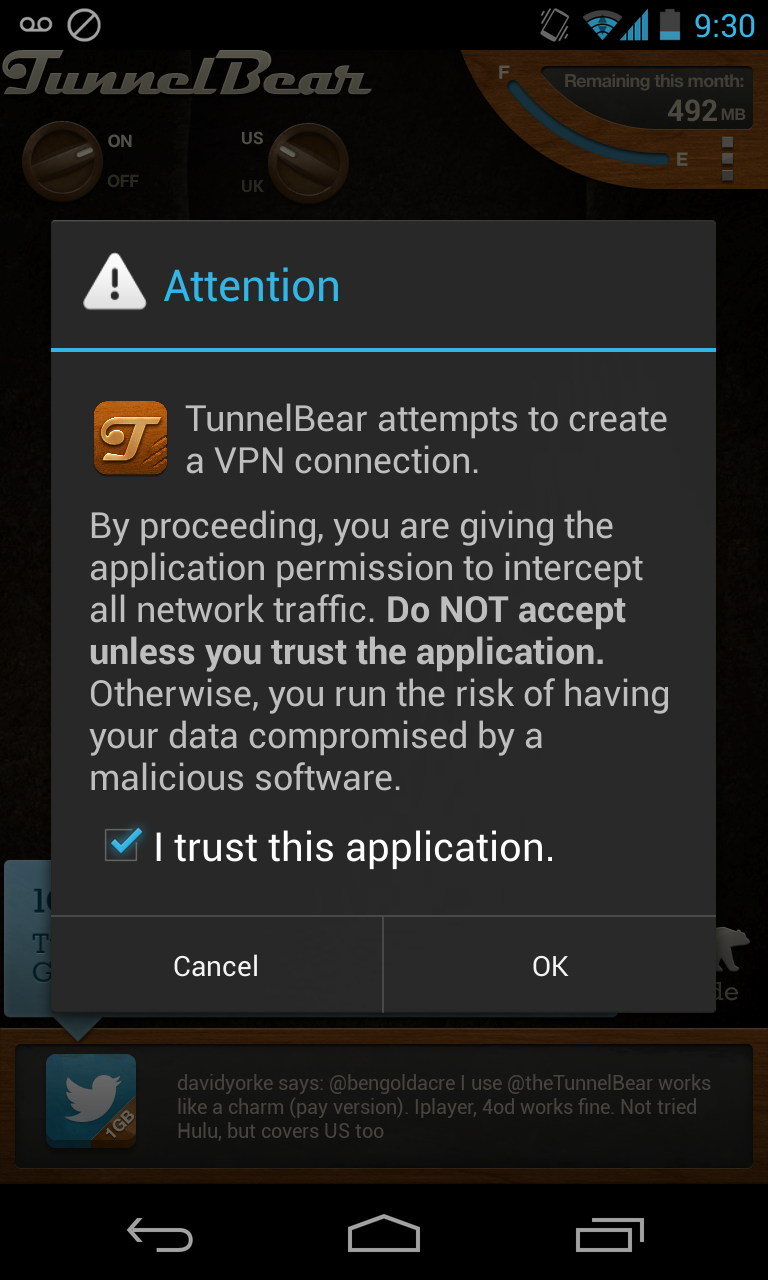
It’ll pop up and prompt you, alerting you to the security implications. This is fine, we run everything through an SSL encrypted connection back to Google anyways, and on top of that when you disconnect from TunnelBear you’re essentially shutting out the application anyway. They’re not malicious though so you have absolutely nothing to worry about. Just tick the box and hit “OK”:
Give it about 30 seconds to get connected, then on your phone fire up Chrome and go to: http://play.google.com/music/
The first time you visit it, it’ll look like this:
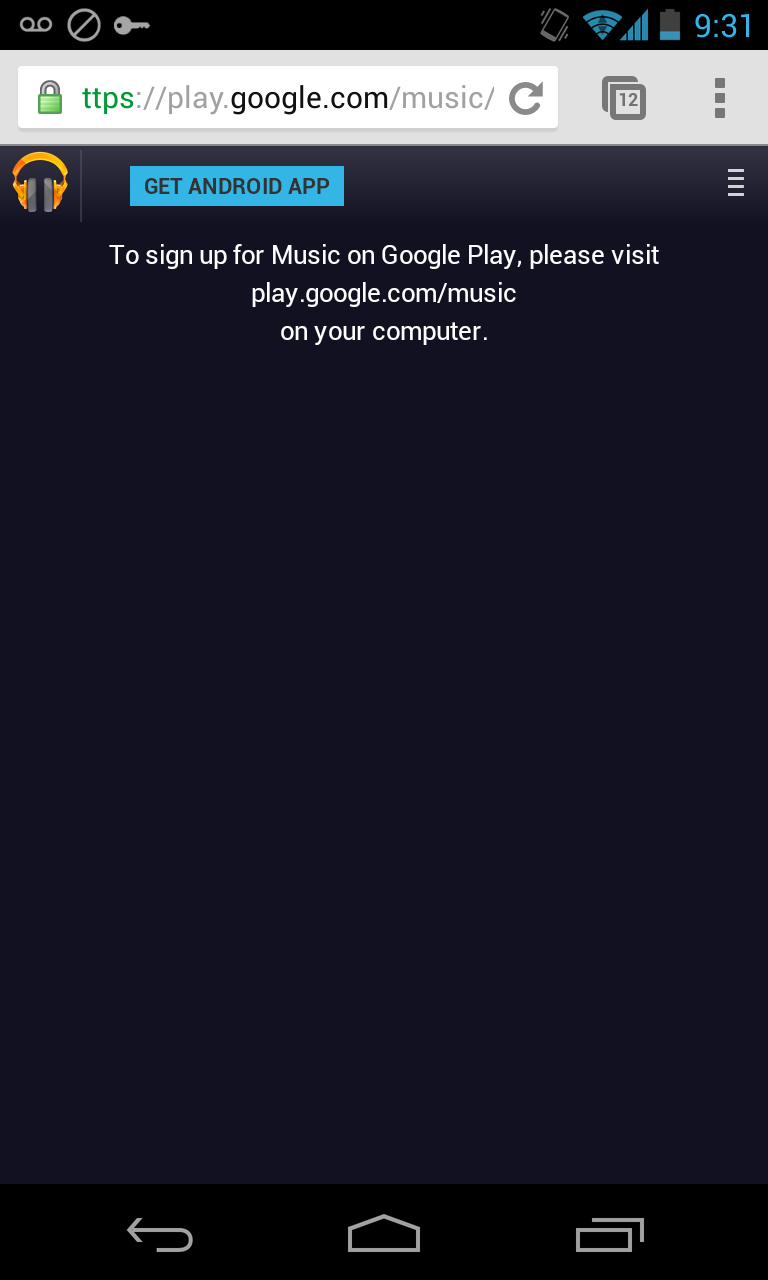
That’s fine, it’s supposed to. Just hit the Menu button up the top-right (The 3 dots) and tick “Request Desktop Site”:
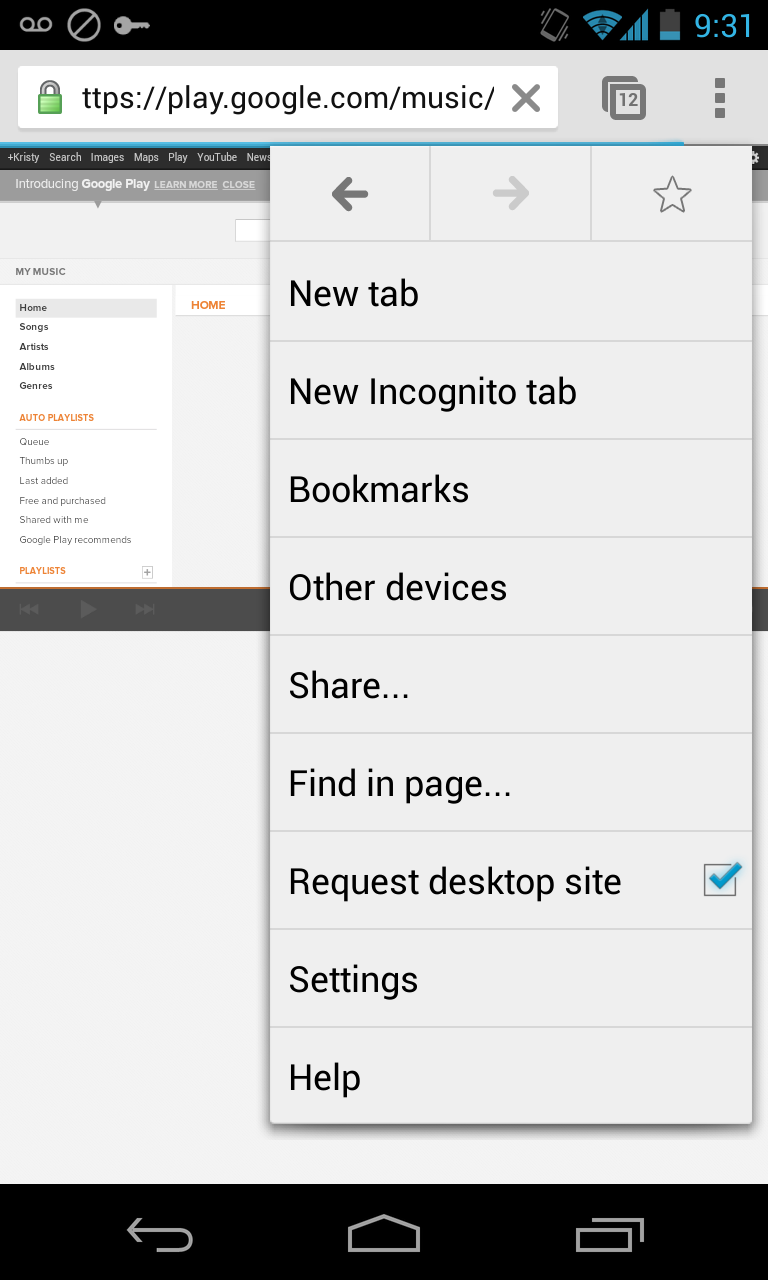
The page will refresh and it’ll look like this:
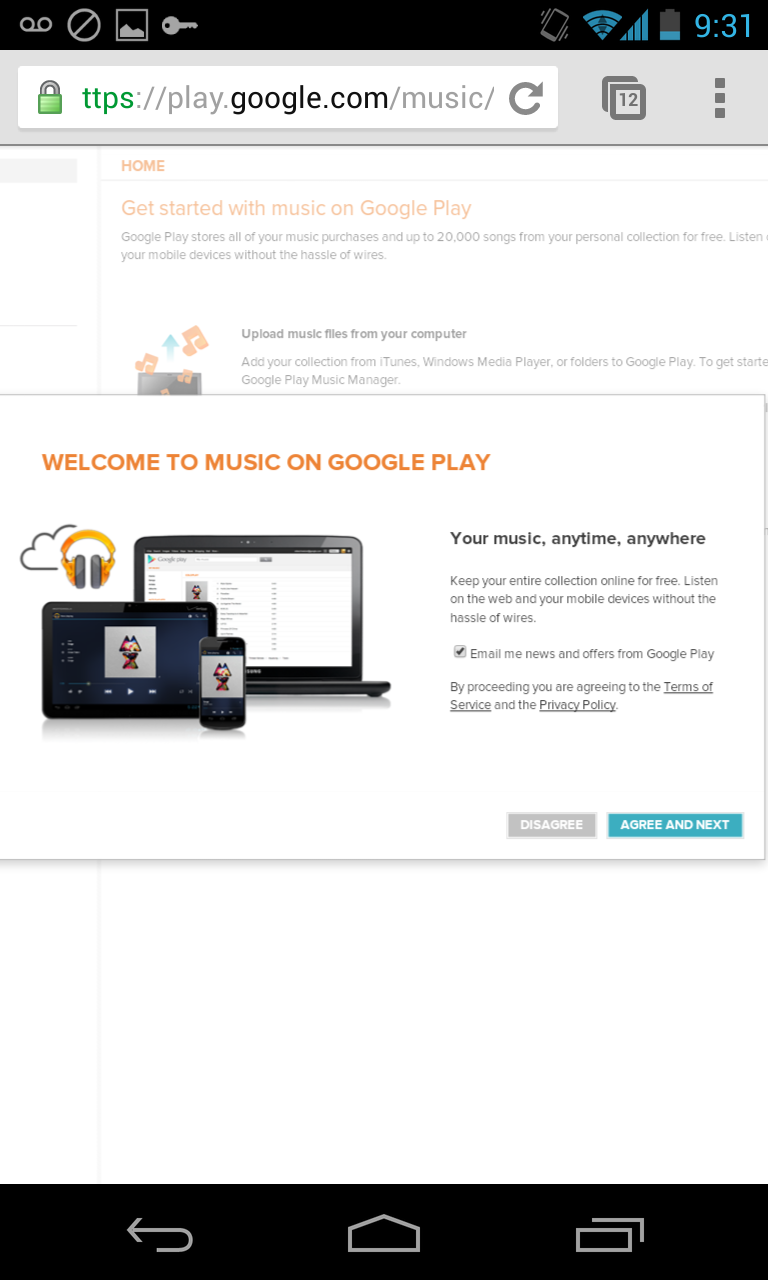
Follow through hitting the continue button as appropriate. I found that I had to double-tap to zoom out before it was happy to accept my finger-presses, but it definitely does work:

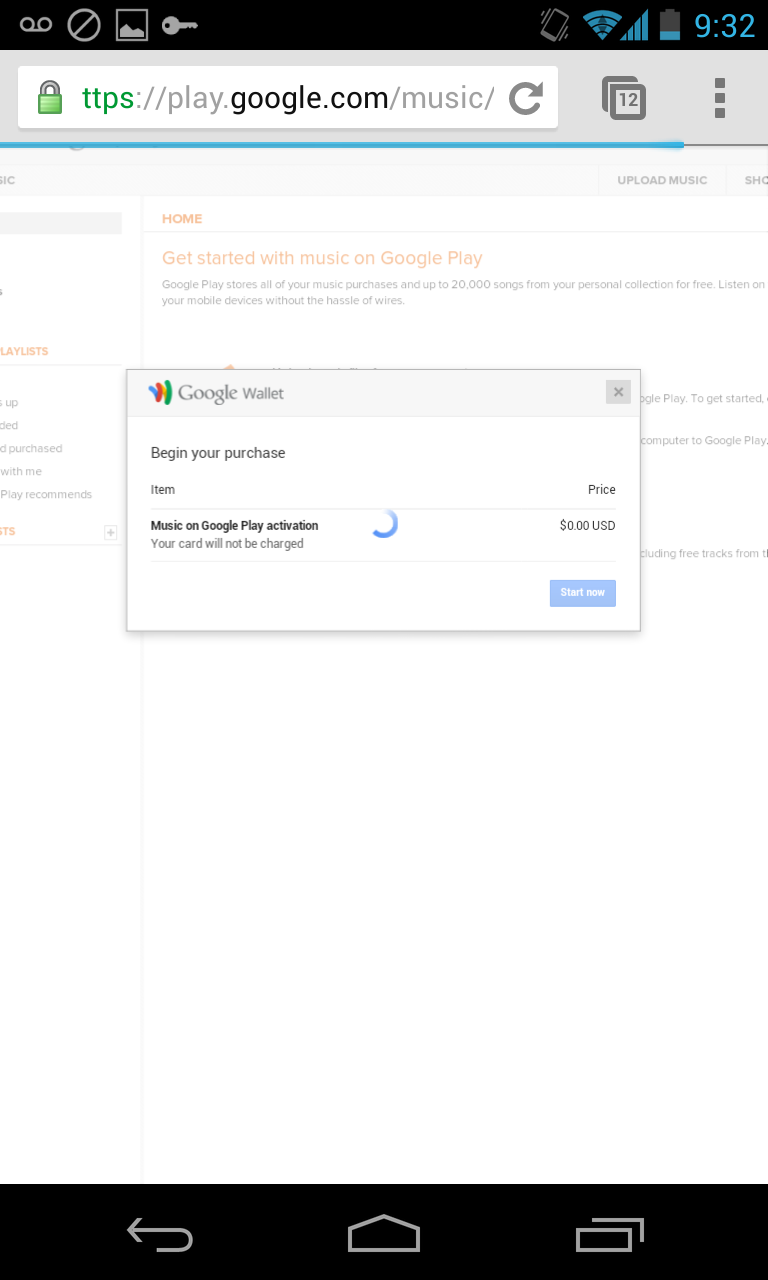
It’ll prompt you to “buy” the service for free (Up to 20,000 songs):
That’s pretty much it, once you’ve signed up and been accepted, you’re good to go!

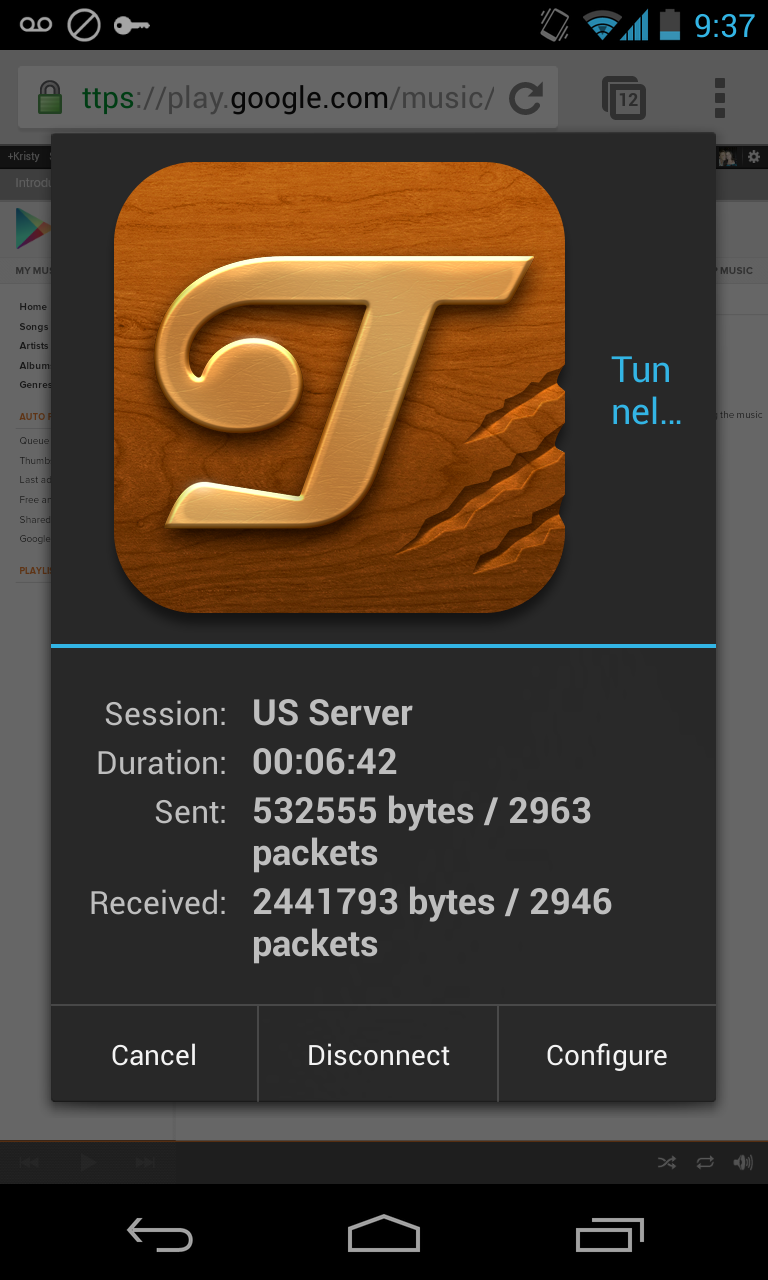
Finally, you can bring down your Notification Bar, tap on TunnelBear and you can disconnect:
You can now visit it from your PC without having to be on a VPN and download the application to have it upload all your music. Just go to https://play.google.com/music/
The Windows app can import from iTunes, Windows Media Player, as well as scanning for and watching a folder for all your music! It’s brilliant!
Once you’ve uploaded a few songs, it’ll also begin to appear on your Cellphone. Your Cellphone will keep a copy of the last few dozen songs that you’ve played, or you can “Pin” a song to your phone and it’ll stay saved on it permanently. This means even if you don’t have WiFi or 3G you’ll always have something to listen to.
Also, if you ever see a link to a song you wanna buy, just fire up TunnelBear, let it connect, then you can listen to or purchase the song just like you should be able to. It means if you see a song shared in Google+ you can also listen to it and buy it.
Yes, it’s a bit of a stop-gap measure, but at least you can have your music until Google officially releases Play Music and Play Movies here in NZ.
So, 20,000 songs! Go nuts uploading, and I hope this has been of use to you!
Dont forget the latest thing from google music, Instead of uploading your music, which uses your bandwidth, the service now scans your music folders that you specify (as well as itunes and WMP library) and automatically provides access to those files in 320kbps quality! You can then listen to the music at a higher bitrate than you otherwise would have from your own files, assuming they are 192kbps or these abouts.